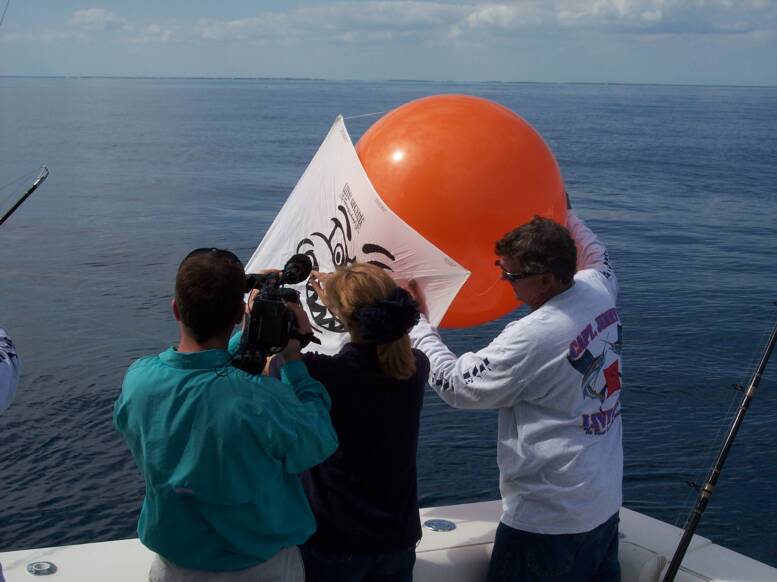
Launching your Kite
The Bridle
The kite has an adjustable bridle, which controls the
performance of your kite. The dye mark on the bridle
line acts as a reference for making adjustments. When
you are first learning to use a kite, the dye mark is a good starting point. Always check the bridle's position before flying your kite. The bridle slide may have been accidentally moved from its optimum position. When the wind is so stiff that the kite is no longer flying steady, you can often make it work better by adjusting the bridle to spill extra wind under the kite. In lighter wind, adjust the bridle to increase the kite's angle so the wind forces the kite to face more into the breeze and climb. A longer bridle makes the kite fly higher and a shorter bridle causes it to fly lower. If you adjust your bridle, do so at one inch increments. Dramatic bridle adjustments may cause your kite to spin and fall into the water.
Launching
It is important to avoid wind obstruction. Launching problems are usually due to turbulent air downwind of the boat. As boat size increases, so does turbulence. Anglers in a sportfisherman have learned to launch the kite from the flying bridge or an outrigger.
With the kite reel in free spool and clicker on, allow the kite to pull off line gradually, applying slight pressure with your hand. The "pull" must be maintained on the line to get the kite up and keep it up. Don't put the reel in free spool and turn loose! As the kite rises, the release clips slide backward along the kite line.
When you reach the first swivel lock the kite reel by putting it into gear and attach your first fishing line. Open the pin of the clip, place your ceramic ring through the pin and snap the release pin shut. Verify that the line coming out of the ring to the bait is facing away from the boat, toward the kite, otherwise the line will be twisted. Make sure that you have set the tension on the release pin before putting your baits out. Consider the sea conditions and size of your baits when setting the tension.
**Note: You have two choices on pin tension. You can fish the pins fairly loose so that the line falls out immediately after the strike. If you like to drop back on the bite you can also fish your pins somewhat tighter and feed the bait back to the gamefish, then set the hook with the line still in the pin. Either way if your line comes out of the pin wind your fishing line in very fast until you have taken up all the slack and have come tight on the fish (in other words- Wind Like He*#!).**
Let out the kite line as before while letting line off the fishing reel at the same pace. Apply just enough hand or drag pressure to the fishing reel line to prevent back lashing. While the kite line is carrying out the bait, give enough line from the fishing reel to keep it fairly close to the surface. As the second stop is reached, let off more fishing line to allow the first bait to reach the water.
**Note: Always keep your long bait fishing rod farthest away from your kite reel. Never cross your short and long rods over each other. Make sure to keep your baits apart in the water as they sometimes want to swim together!**
When the first clip is 50 to 75 feet away, the second release clip will stop at the large swivel on the kite line. Lock the kite reel, attach the line from the second fishing rod and deploy it as before. Let out the line as necessary from both fishing reels. When both fishing lines are the desired distance from the boat, and both baits are in the water, lock the kite reel once more. Position the baits at the desired depth. Use the kite floats to judge the depth of your baits. One bait is usually held at the surface, creating a ruckus that attracts the striking fish from great distances. Watch your baits and be ready to make adjustments as necessary, as the kite will move slighty up or down with the wind gusts. The different colors of the line markers will allow you to distinguish one rod from the other and the floats will not interfere while fighting your fish.